Adding a countdown timer to your Twitch stream is a great way to build anticipation for upcoming events, breaks, or stream start times. Whether you want to hype up your audience before a big gameplay session or give viewers a heads-up on when you'll be back from a short break, a countdown timer can be an engaging visual element. Here's how to add one using StreamElements and OBS Studio.
Twitch countdown timer Add countdown timer Twitch Twitch stream timer OBS countdown timer StreamElements countdown Twitch overlay timer Streaming tools Twitch Twitch setup guide OBS browser source Twitch engagement tips
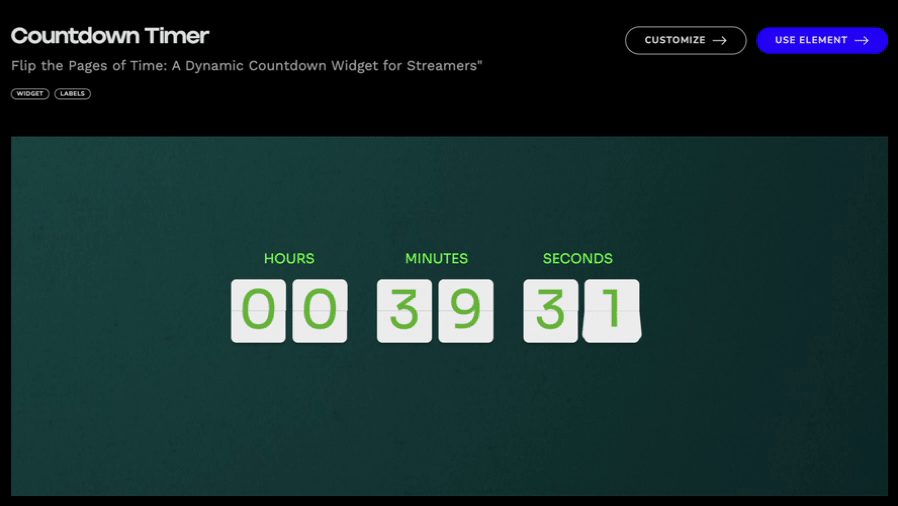
How to Add a Countdown Timer to Your Twitch Stream
ellyblerp
·
Mar 6, 2025
Step 1: Customize Your Countdown Timer
- Head over to the StreamElements Countdown Timer.
- Customize the timer to match your stream's aesthetic by adjusting the size, colors, and time settings.
- Once you're happy with the design, copy the timer’s URL provided by StreamElements.
Step 2: Add the Timer to OBS Studio
Open OBS Studio.
Select an existing scene or create a new one where you want the countdown timer to appear.
Click the “+” button under the Sources panel and select Browser.
Name the source something recognizable, like "Countdown Timer," then click OK.
Fill in the form with the following settings:
URL: Paste the URL you copied from StreamElements.
Width: 700
Height: 250
Click OK to add the countdown timer to your scene.
Resize and reposition the timer as needed within your scene.
Step 3: Test and Adjust
Before going live, make sure the countdown timer displays correctly by running a test. You can adjust its appearance and timing in StreamElements if needed. Once everything looks good, you're ready to stream with your new countdown timer!